Step-by-Step Plastic Injection Moulding Process
Plastic injection moulding is a versatile manufacturing process widely used to create intricate and durable plastic components for various industries. At Topwell Moulding, we specialize in delivering high-quality injection moulding solutions to meet diverse production needs. This article delves into the step-by-step process of plastic injection moulding and highlights its significance in modern manufacturing.
1. Design and Prototyping
The process begins with designing the plastic part using advanced Computer-Aided Design (CAD) software. Once the design is finalized, a prototype is created to test functionality, fit, and aesthetics. This step ensures that the final product meets the required specifications.
Why it’s essential:
- Prevents costly mistakes.
- Ensures design feasibility and accuracy.
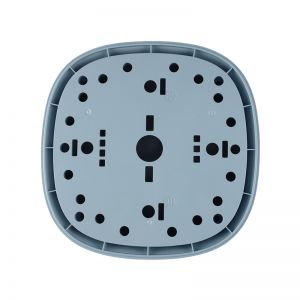
2. Mould Creation
A mould, typically made from hardened steel or aluminum, is crafted based on the product design. Precision is critical at this stage to achieve consistent results during production.
Key considerations:
- Durability of the mould material.
- Fine-tuning for seamless part release.
3. Material Selection
The appropriate plastic material, such as ABS, polypropylene, or nylon, is chosen based on the product’s requirements like strength, flexibility, and temperature resistance.
Popular materials:
- Polyethylene (PE): Lightweight and durable.
- Polycarbonate (PC): Strong and transparent.
4.PLASTIC INJECTION MOLDING Setup
The mould is mounted onto the injection moulding machine, and the plastic material is fed into the hopper. The machine melts the material and injects it into the mould cavity under high pressure.
Equipment involved:
- Injection unit.
- Clamping unit.
- Cooling system.
5. Filling and Cooling
Molten plastic fills the mould cavity, conforming to its shape. Once the cavity is filled, the plastic cools and solidifies. The cooling time varies based on the material and part thickness.
Optimization tips:
- Use precise temperature control for uniform cooling.
- Minimize warping through proper mould design.
6. Ejection of the Part
Once cooled, the mould opens, and ejector pins push the finished part out. The part is inspected for defects like sink marks or flash.
Common issues to monitor:
- Surface imperfections.
- Dimensional accuracy.
7. Trimming and Finishing
Excess material (sprue, runners, or flash) is trimmed away, and finishing touches are applied to ensure the part meets aesthetic and functional requirements.
Finishing techniques:
- Polishing.
- Painting or coating.
8. Quality Control and Testing
Before mass production, the part undergoes rigorous quality checks to ensure it meets industry standards. Functional, dimensional, and durability tests are conducted.
Why Choose Topwell Moulding for Injection Moulding?
At Topwell Moulding, we combine cutting-edge technology, skilled craftsmanship, and years of experience to deliver top-tier plastic injection moulding solutions. From design to production, we ensure precision, quality, and efficiency at every step.
Our capabilities include:
- Custom mould design.
- High-volume production.
- Expert guidance on material selection.
Whether you need prototypes or mass production, trust Topwell Moulding to bring your ideas to life. Visit www.topwellmoulding.com to explore our services and start your project today!


Comments
Post a Comment